home.health.love

A balanced and easy approach to healthy living.


Leave a comment

Ode to Lentils

Lentils are a great food for so many reasons. They should be a staple of any vegetarian diet, but are a great addition to any food repertoire. They are a low-fat, low-cholesterol, nutrient-rich substitute for meat.

Here is what makes them so special:

  1. They build your iron stores! A cooked cup of lentils contains 37% of your daily nutritional value. Apart from fortified cereals and soybeans, lentils have the most iron of any non-meat food source (see Table 1 to compare). Many women have low iron stores (12% of young women!), which can result in anemia. Vegetarians are particularly vulnerable to low iron, because they don’t eat meat, which is a great source for iron, but even meat-eaters suffer from low iron levels! (Other iron sources: all varieties of legumes, nuts, dark leafy vegetables, tofu.)
  2. Unlike other legumes, lentils do not need to be soaked before cooking.
  3. They are less gas-producing than beans.
  4. They cook very quickly, quicker than other legumes! Boiling them takes about 15-20 minutes.
  5. According to a Harvard study women who ate beans and lentils at least twice a week had a 25 percent lower risk of breast cancer than women who ate them just once a month. (Source)
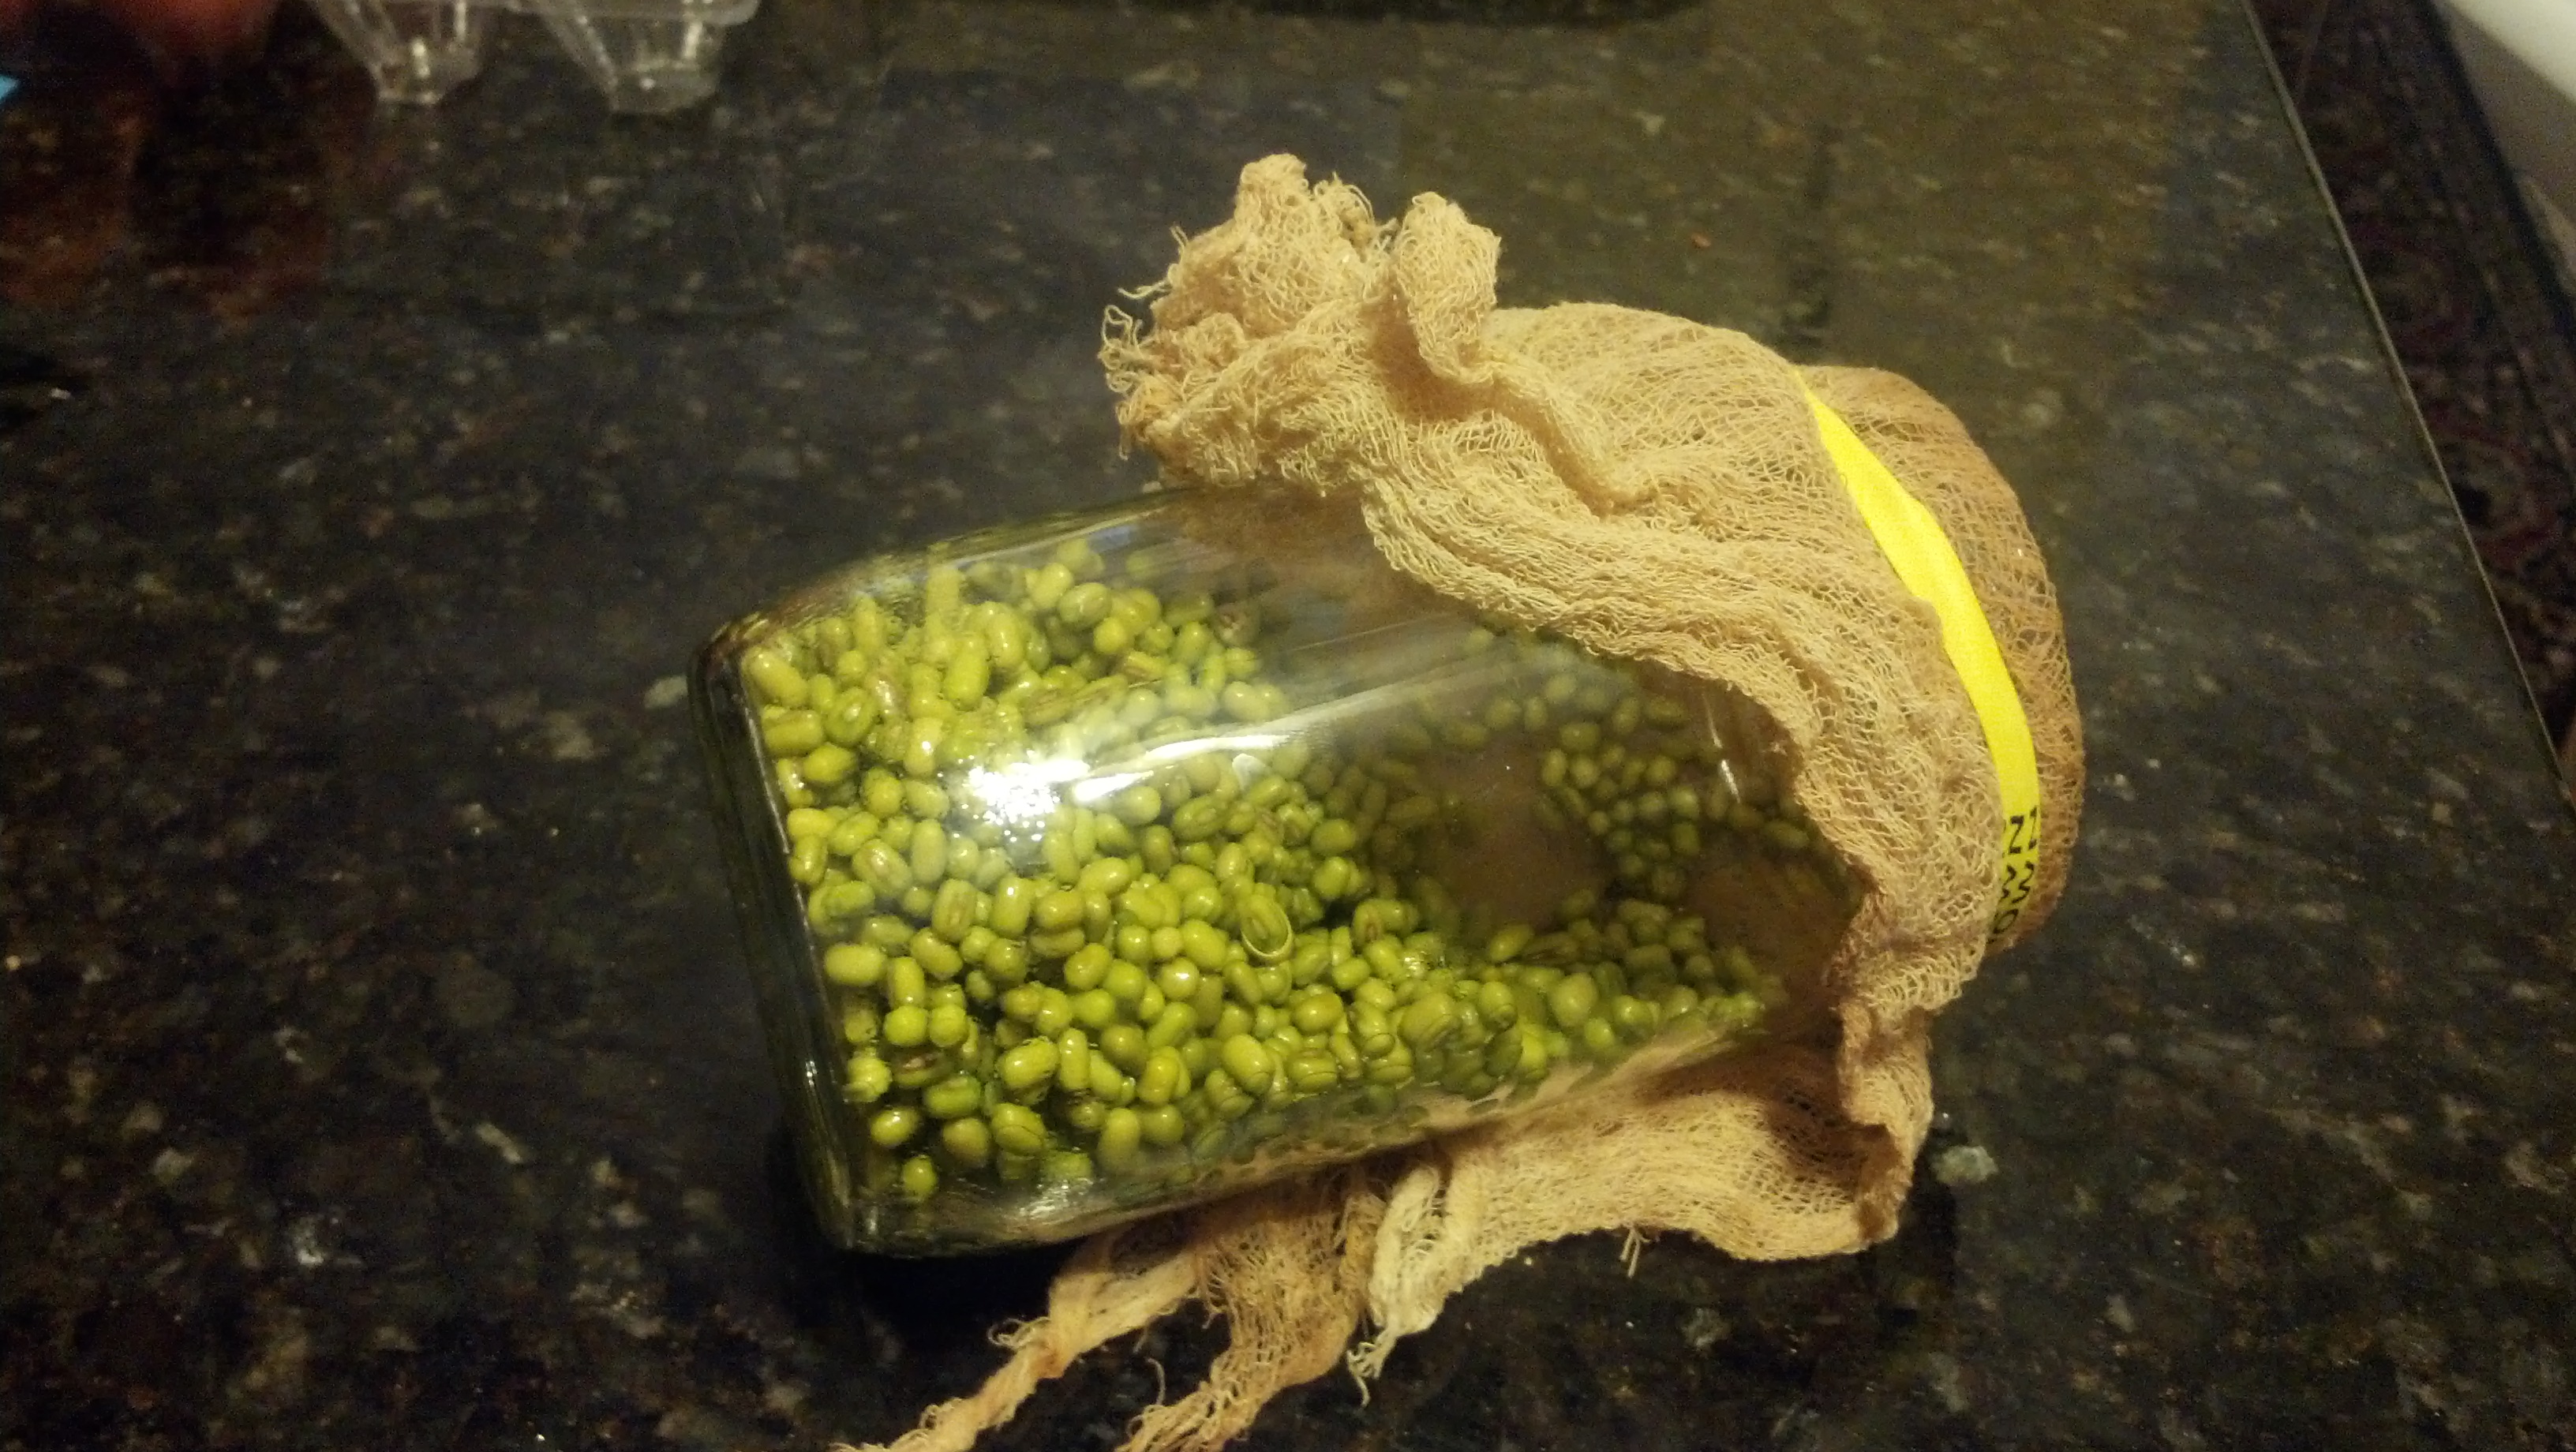
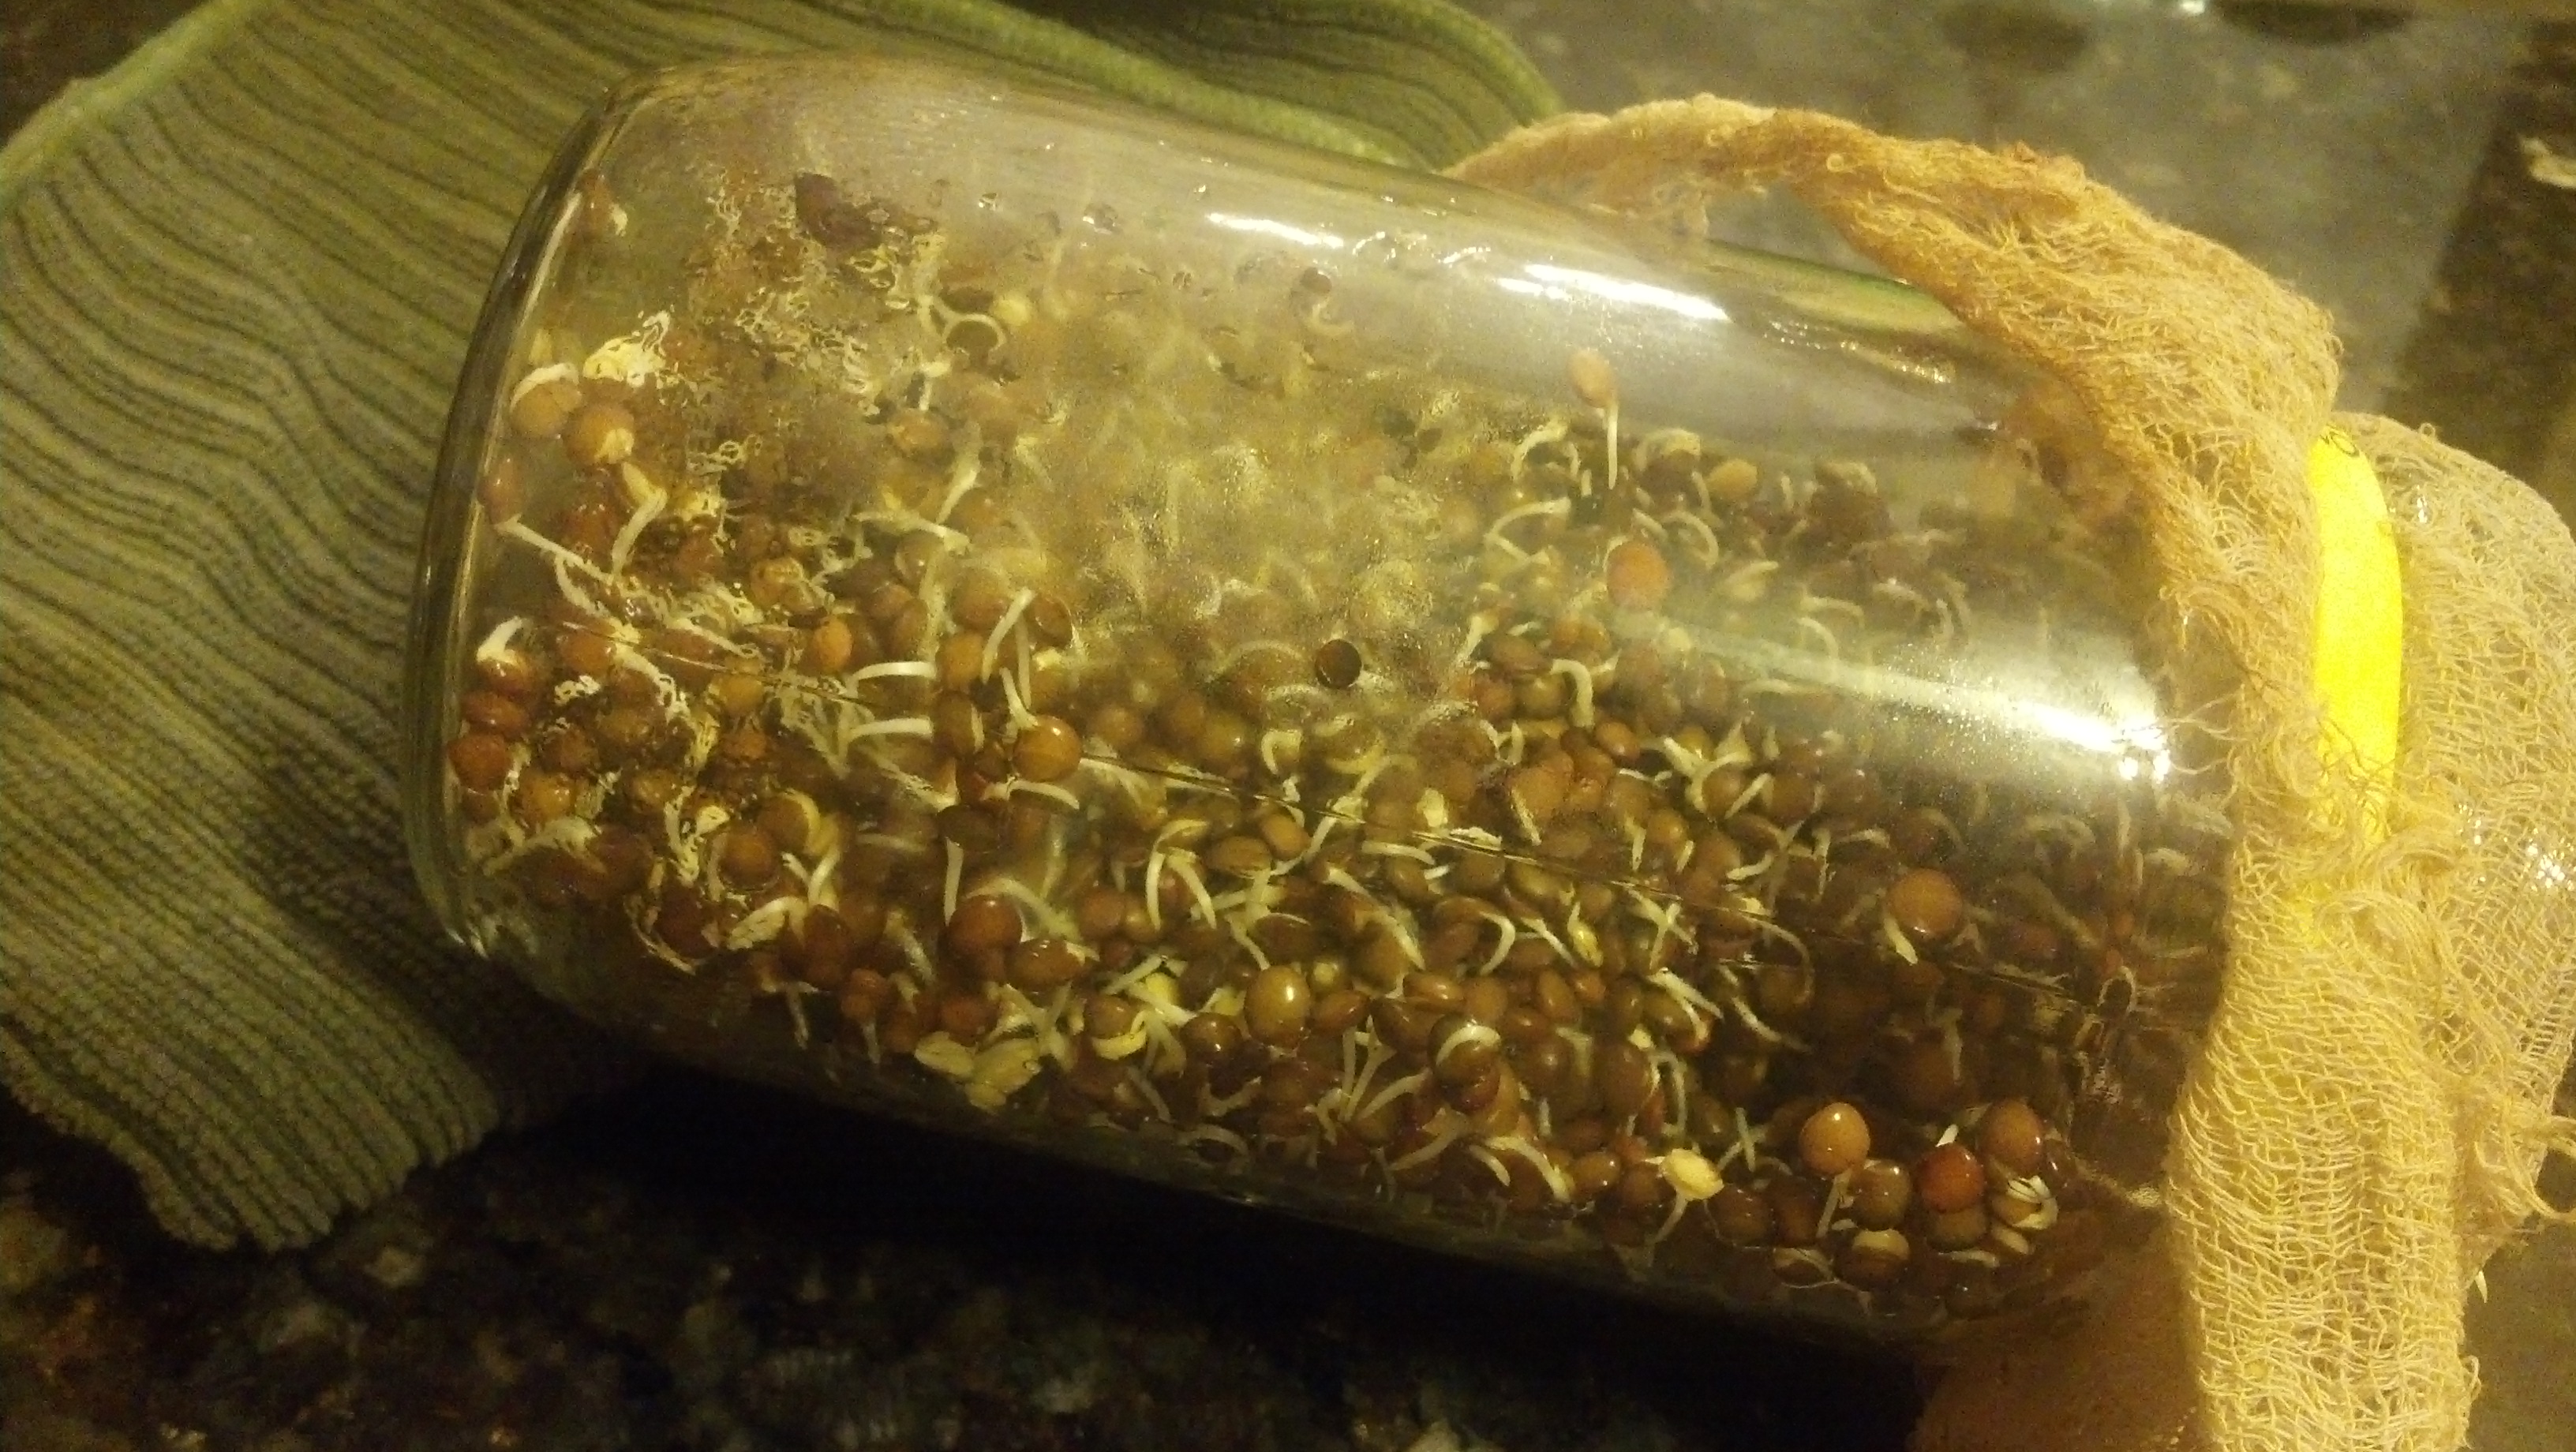
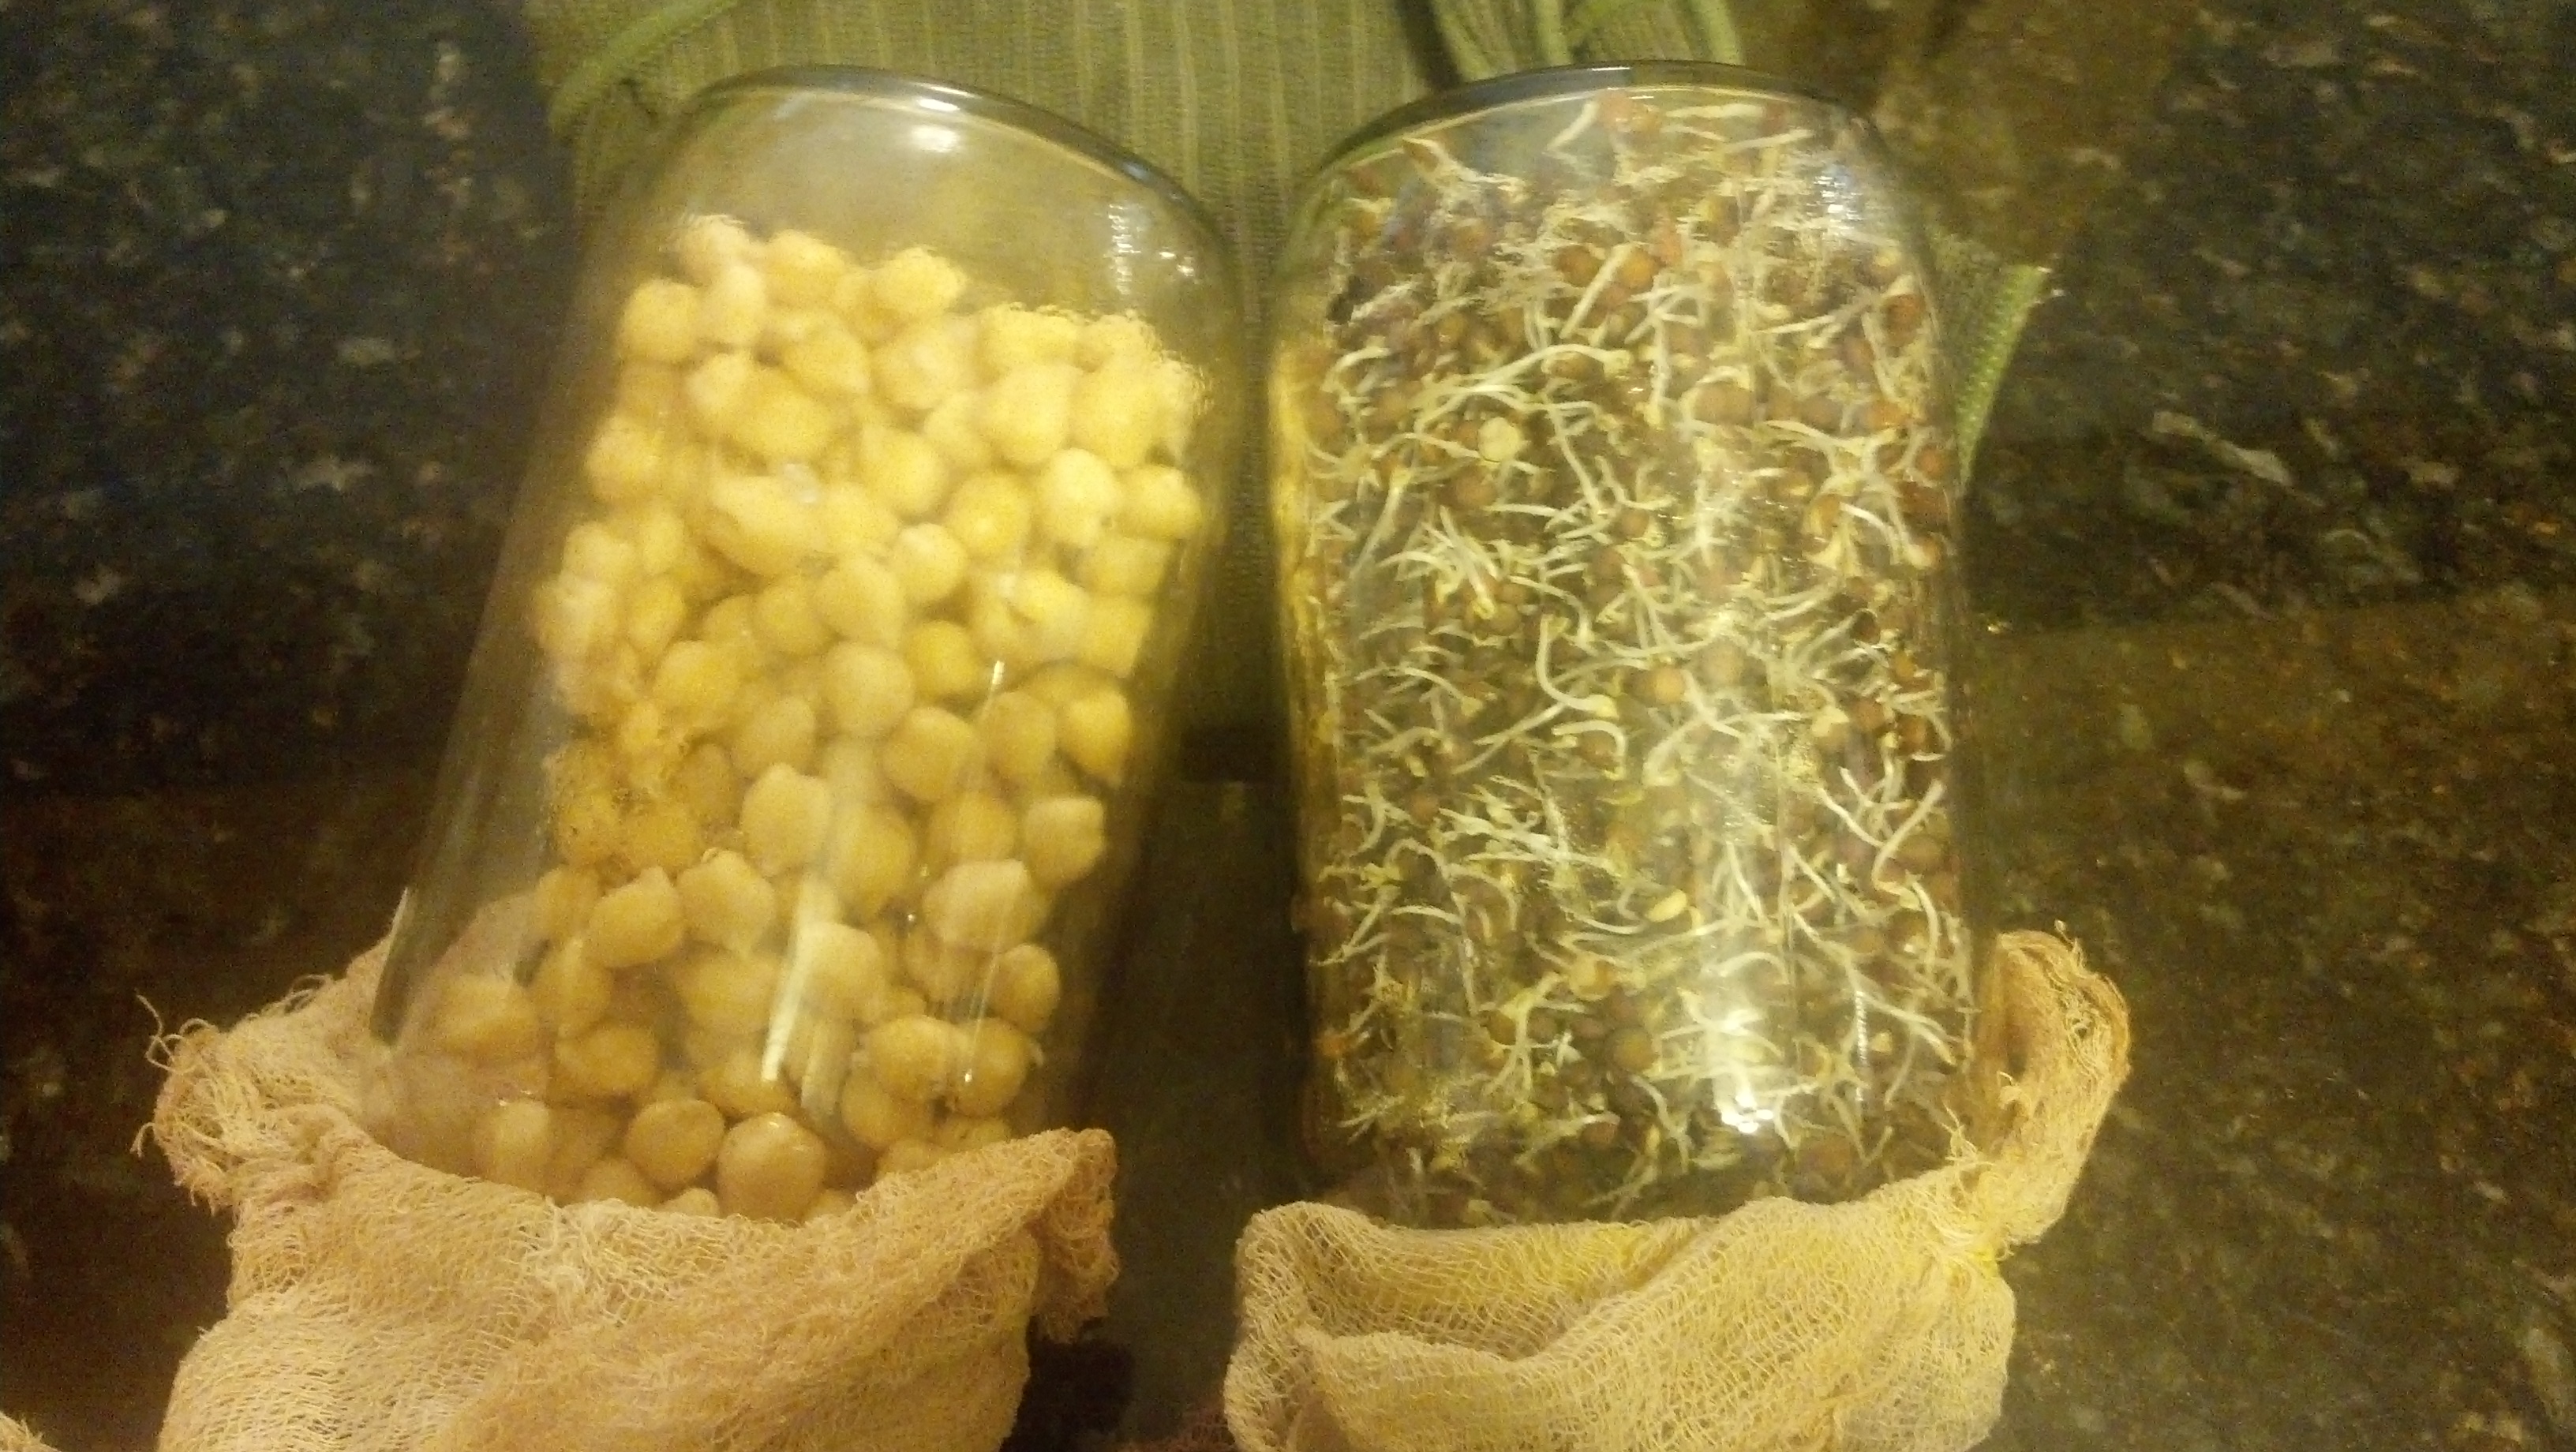
  6. They taste great when sprouted!
  7. They make a great toddler/kid food!
  8. Many varieties add different flavors and colors to your dishes: orange, green, brown, black, etc.

Below re two of my favorite recipe for making lentils is. The first is a great side or vegetarian main dish or lunch salad. It was featured in the August 2005 issue of Gourmet Magazine. It’s super easy and tasty. I have served it to company on many occasions and always get compliments.

Lentil Salad with Tomato and Herbs

Ingredients:

  • 1 cup dried lentils (preferably small French lentils)
  • 1 large garlic clove, chopped
  • 1 teaspoon salt, or to taste
  • 3/4 lb tomatoes, diced (2 cups)
  • 4 large scallions, thinly sliced (3/4 cup)
  • 1/4 cup chopped fresh dill
  • 1/4 cup thinly sliced fresh basil
  • 3 tablespoons red-wine vinegar, or to taste (I usually start with 2 tbs. and then add more)
  • 1/4 cup extra-virgin olive oil
  • 1/4 teaspoon black pepper

Preparation:

  1. Bring 4 cups water to a boil in a 2-quart heavy saucepan with lentils, garlic, and 1/2 teaspoon salt, then reduce heat and simmer, uncovered, until lentils are just tender, 15 to 25 minutes.
  2. Drain in a large sieve, then transfer to a large bowl.
  3. Toss hot lentils with tomatoes, scallions, dill, basil, vinegar, oil, pepper, and remaining 1/2 teaspoon salt, or to taste.

Easy…right??? By the way, you can adjust this recipe by including whatever herbs and veggies you have in your frig. If you don’t have any fresh herbs, it still tastes great with the dried versions or none at all! 

Lentils with Rice (Mujadara)

Here is another favorite: a one-dish meal for a weeknight dinner, which can be prepared ahead. This recipe is adapted from one presented on Good Morning America. It’s so easy, that after making it once, you won’t need the directions anymore.

Ingredients:

  • 1-3 medium yellow onions, peeled
  • 3 tbs. olive oil
  • 1 cup lentils
  • 3 1/2 cups cold water or broth
  • 1 cup rice of your choice (sometimes I use quinoa)
  • 2 tsp. salt
  • OPTIONAL: Other seasonings of your choice: cumin, turmeric, curry, paprika, etc.

Preparation:

  1. Dice 1-2 onions.
  2. Heat a large frying pan and add 2 tablespoons of the olive oil and the diced onions. Saute until quite brown and set aside.
  3. In a 4-quart covered pot place the lentils and water/broth. Bring to a boil, covered, and then turn down to a simmer. Cook for 15 minutes.
  4. Add the cooked onion to the lentils, along with the rice and salt. (Add any optional seasonings.) Cover and simmer 20 minutes until rice and lentils are soft. If a bit of water remains unabsorbed, remove from heat and let stand 5 minutes and it will soak in.
  5. OPTIONAL: Slice the remaining onion into rings. Heat the frying pan again and saute the rings in the remaining olive oil.
  6. OPTIONAL: To serve, top the lentils with the sauteed onion rings.
  7. Accompany with plain yogurt, sour cream, or tzatziki sauce. Consider adding a lemony green salad, with tomato wedges on the side.

I sometimes make this recipe when I already have cooked rice or quinoa, in which case I cook the lentils alone according to step 3; when done, I put the lentils in the frying pan with the sauteed onion and additional olive oil, add the cooked rice, and saute it altogether for a few minutes.

Enjoy!


Leave a comment

How to enjoy your sprouts!

This post is a follow-up to my recent post, “The Miracle of Sprouting,” where I discussed how sprouting works, the amazing nutritional benefits of sprouting, and six easy steps to making your own sprouts–quickly and cheaply!

(Here’s one more nutritional fact, I couldn’t help myself 😉 : 1 oz. of broccoli sprouts have the same amount of antioxidants as 3 lbs. of broccoli! source).

In this post, I will share some ideas of how you can enjoy your sprouts. At the end, I’ll tell you where you can buy seeds for all sorts of wonderful sprouts!

2013-02-01 14.07.55

  1. Pop-’em: eat them plain, as a snack. The bean sprouts–especially mung bean and chickpea–are crunchy, so kids will enjoy them, too. My daughter happily eats sprouts for any meal, including breakfast! She pops them in her mouth like candy. She enjoys them so much, I’ve started to hide my sprout jars because when she sees them on my counter, she demands to have some, even when they are not ready. Tell your kids they are like “nuts” or baby “puffs!” They won’t know that what they’re eating is essentially a multi-vitamin!
  2. Sprinkle them on top of a green salad for a crunchy, nutty addition.
  3. Make a sprout salad using one or more varieties with some salad dressing. This can be eaten as a salad course or a side dish.
  4. Use them as an ingredient in a sandwich or a burrito wrap, vegetarian or not. I especially enjoy them in a sandwich that also includes avocado, pepper, and/or carrot ribbons.
  5. Add them to your stir-fry, either while cooking, or just before serving, as a garnish. I recommend doing the latter, since cooking reduces the nutritional content of live foods. But, hey, that’s how some of you will enjoy eating them! If you prefer cooking them, I recommend adding them a minute or two before the stir-fry is done, so that they have the least exposure to high heat.
  6. Make sushi or spring rolls! I got this idea from Jennifer Cornbleet’s book, Raw Food Made Easy (a book my mom bought me  when I barely new anything about raw-fooding!). There’s no real recipe for this, except that sushi requires nori sheets and spring rolls require a leaf to wrap up the ingredients (think: romaine, cabbage, green leaf, etc.). Along with your sprouts, you can add sliced avocado, sweet pepper, cucumber, carrot (grated or in ribbons), herbs (cilantro works great), scallions, and anything else you like. Layer your ingredients along the short end of the nori sheet, and roll toward the opposite end. Add a dressing or sauce–like teriyaki, soy/tamari, peanut, miso, carrot ginger, or anything else you enjoy–in the nori roll, or on the side for dipping. Don’t bother cutting the roll into pieces, because ingredients will fall out. Eat it like a hand roll. A few rolls make a tasty raw lunch!
    Ingredients placed on nori sheet, on short side.

    Ingredients placed on nori sheet, on short side.

    Rollin' it up!

    Rollin’ it up!

  7. Make a pate or chumus out of your sprouts! Making a paté out of your spouts (or chumus, if it’s chickpeas), involves putting a few basic ingredients into your food processor, along with your sprouts: minced onion or garlic (or both), lemon juice, herbs of your choosing (cilantro and/or parsley are great choices), salt, seasoning (cumin is great for this, but also paprika, turmeric, cayenne pepper, curry etc.) and some olive oil. If you’re making chumus, then replace the olive oil with tahini. For exta flavor, you can also add in some say sauce/tamari/nama shoyu (all variations of the same thing). Experiment with different proportions and different herbs and spices! Make it your own! You really can’t go wrong, since you can always adjust the taste if it’s not quite right. If you’re not feeling quite daring just yet, here are recipes from the web to inspire you: Jennifer Cornbleet’s paté (sub in any legume for the walnuts) or Vegan Baker’s Raw Sprouted Chumus.

I’d love to hear if you’ve used these ideas or if you have any new ones to add!

Before I sign off: For those of you looking to expand your sprouting repertoire, the best site out there is sproutpeople.org. They sell  seeds for leafy sprouts (clover, alfalfa), bean sprouts,  broccoli and brassilica sprouts, exotic sprouts, and sprouting nuts and grains. For each type of sprout, they have specific instructions and some how-to videos. They also have sprout mixes that taste really great. And, finally, they have lots of “equipment” like sprouting jars and lids, as well as all sorts of sprouting devices.

Mesh screen lids for sprouting jars, made by Sproutpeople. Image courtesy of Sproutpeople.

Sproutpeople’s French mix (their most popular one): Clover, Arugula, Cress, Radish, Fenugreek, Dill. Image courtesy of Sproutpeople.

Enjoy!


3 Comments

The Miracle of Sprouting

Warning: this post may blow your mind.

What if I told you that YOU can grow some of the most nutritious foods quickly and easily right in your own kitchen? Foods that researchers have found to contain incredible disease-fighting properties, as well as very high levels of protein, antioxidants, vitamins, and phytochemicals. In other words, foods that carry more health benefits that most of the vegetables you have in your fridge right now.

Now, sit down, because it gets even better.

What if I told you that all you needed to accomplish this amazing feat was a glass jar, water, and a piece of cloth? And, that all it would take is a few minutes a day?

You’d think I was crazy, right? But, I’m not, and this is for real.

I’m talking about sprouting. Sprouting is one of the easiest ways you can dramatically boost your family’s nutritional intake. And you can do it yourself–cheaply and easily.

Let me first tell you about the health benefits of sprouting. Then I’ll tell you how to do it. And, finally, I’ll end with some ideas about how to consume your favorite sprouts.

Health Benefits:

Sprouts are one of the richest source of vitamins, minerals, and anti-oxidants of all fresh food.[1]

Why are sprouts so nutritionally dense? Because, during germination the nutrients stored in the seed are released to fuel the growth of a full-grown plant (remember high school biology class?). Once germination begins, complex biochemical changes take place in the seed. Enzymes are produced to break down proteins, starches, and fats into simple compounds. These simple compounds are then used to make new compounds.[2]

The wonderful results? Sprouting increases the vitamin value and anti-oxidant content of the seed[3]  by as much as 20 times! [4] And, it’s not just the vitamin content that’s increased. For instance, one study demonstrated that broccoli sprouts contain special cancer and other disease-fighting agents that are lacking in full-grown broccoli.[5] Another study found that sprouts such as alfalfa, clover, soybean, and flaxseed play an important role in the prevention of menopausal symptoms, osteoporosis, cancer and heart disease.[6]

I could go on for days, but need I say more?

How to sprout:

You can sprout almost any bean, seed or grain.  Most of these are very easy to sprout, though the technique does vary from seed to seed.

From my experience, the easiest things to sprout are beans, such as mung beans, lentils, and chickpeas. These beans are easy to find in health food stores and even super markets. Their sprouts are also tasty, crunchy and fun to eat for adults and kids. If it’s your first time, I recommend starting with mung beans, which you can find packaged or in the bulk aisle of most health food stores, including Whole Foods.

Equipment:

Glass jar, quart size (e.g., pasta sauce or mayonnaise jar; if you’re fancy, you can purchase a mason jar)

A square of cheesecloth, mesh screening, coarse kitchen towel, or sprouting jar lid (I use, and re-use, cheesecloth)

Ingredients:

Mung beans, lentils, or chickpeas

Water

Preparation:

  1. Fill jar about an inch high with beans (they will expand). Fill jar with water until a few inches from top. Loosely cover jar with piece of cheesecloth, screen or towel. Let sit overnight or for 8-12 hours.
  2. Drain water and rinse beans a couple of times with fresh water. Then pour out all of the water. Beans will remain damp.

    Soaking lentils and chickpeas overnight,

    Soaking lentils and chickpeas overnight.

  3. Place jar in a horizontal position on your counter. It’s best to prop up the bottom of the jar with a folded towel to encourage excess water to drip out.
    Day one, lentils and chickpeas: propping jars up with towel.

    Day one: lentils and chickpeas; jars propped up with towel.

    Day one: mung beans

    Day one: mung beans

  4. Continue rinsing and draining the beans 3 to 4 times a day. Don’t worry if you have to go to work or go to sleep, they will be ok. Just rinse at least 2 times a day when you get a chance (am and pm).
  5. After a day or so, you will see your first sprouts! You can eat the bean once the sprout is a mere ¼ inch thick. But, the more you let it grow, the more nutrients you will get. Let the sprout grow until desired length, for a few days. (I like my mung bean sprouts to be about ½-¾ of an inch.). Optional: when the sprout is close to the desired length, some people place the jar near a window for half a day to “green” their sprouts (i.e. stimulate chlorophyll production). Keep rinsing during this process.

    Lentils: end of second day. I will let them continue to sprout for another half day or so.

    Lentils: end of second day. I will let them continue to sprout for another half day or so.

  6. Store sprouts in the refrigerator (you can keep them in the same jar). This will stop the sprouting process as well as the rotting process. Try to eat them within a few days, no more than five.
Day 2.4: Lentils are ready to go into the fridge! Chickpeas will stay out for another day or so. Most of them have grown little nubby tails and some have actually sprouted, so I will let them go a little longer (sorry it's hard to see in the photo).

Day 2.5: Lentils are ready to go into the fridge! Chickpeas will stay out for another day or so. Most of them have grown little nubby tails and some have actually sprouted, so I will let them go a little longer (it’s hard to see in the photo).

Day 2.5: Mung bean sprouts ready to eat!

Day 2.5: Mung bean sprouts ready to eat!

That’s it! You can enjoy sprouts in many different ways. I will discuss ideas in my next blog post and share some more tips about sprouting. In the meantime, sprouts can be enjoyed as is: pop them in your mouth like nuts—kids will love them too! Try sprinkling them on your salad. Make a raw paté or chumus.

More on all of this next time. 🙂

Happy Sprouting!


[1] Shipard 2005.

[2] Chavan and Kadam 1989.

[3] Ramesh et al 2011.

[4] Shipard 2005.

[5] Schwartz et al, 2010, 2011.

[6] Kurtzer and Xu 1997.