Warning: this post may blow your mind.
What if I told you that YOU can grow some of the most nutritious foods quickly and easily right in your own kitchen? Foods that researchers have found to contain incredible disease-fighting properties, as well as very high levels of protein, antioxidants, vitamins, and phytochemicals. In other words, foods that carry more health benefits that most of the vegetables you have in your fridge right now.
Now, sit down, because it gets even better.
What if I told you that all you needed to accomplish this amazing feat was a glass jar, water, and a piece of cloth? And, that all it would take is a few minutes a day?
You’d think I was crazy, right? But, I’m not, and this is for real.
I’m talking about sprouting. Sprouting is one of the easiest ways you can dramatically boost your family’s nutritional intake. And you can do it yourself–cheaply and easily.
Let me first tell you about the health benefits of sprouting. Then I’ll tell you how to do it. And, finally, I’ll end with some ideas about how to consume your favorite sprouts.
Health Benefits:
Sprouts are one of the richest source of vitamins, minerals, and anti-oxidants of all fresh food.[1]
Why are sprouts so nutritionally dense? Because, during germination the nutrients stored in the seed are released to fuel the growth of a full-grown plant (remember high school biology class?). Once germination begins, complex biochemical changes take place in the seed. Enzymes are produced to break down proteins, starches, and fats into simple compounds. These simple compounds are then used to make new compounds.[2]
The wonderful results? Sprouting increases the vitamin value and anti-oxidant content of the seed[3] by as much as 20 times! [4] And, it’s not just the vitamin content that’s increased. For instance, one study demonstrated that broccoli sprouts contain special cancer and other disease-fighting agents that are lacking in full-grown broccoli.[5] Another study found that sprouts such as alfalfa, clover, soybean, and flaxseed play an important role in the prevention of menopausal symptoms, osteoporosis, cancer and heart disease.[6]
I could go on for days, but need I say more?
How to sprout:
You can sprout almost any bean, seed or grain. Most of these are very easy to sprout, though the technique does vary from seed to seed.
From my experience, the easiest things to sprout are beans, such as mung beans, lentils, and chickpeas. These beans are easy to find in health food stores and even super markets. Their sprouts are also tasty, crunchy and fun to eat for adults and kids. If it’s your first time, I recommend starting with mung beans, which you can find packaged or in the bulk aisle of most health food stores, including Whole Foods.
Equipment:
Glass jar, quart size (e.g., pasta sauce or mayonnaise jar; if you’re fancy, you can purchase a mason jar)
A square of cheesecloth, mesh screening, coarse kitchen towel, or sprouting jar lid (I use, and re-use, cheesecloth)
Ingredients:
Mung beans, lentils, or chickpeas
Water
Preparation:
- Fill jar about an inch high with beans (they will expand). Fill jar with water until a few inches from top. Loosely cover jar with piece of cheesecloth, screen or towel. Let sit overnight or for 8-12 hours.
- Drain water and rinse beans a couple of times with fresh water. Then pour out all of the water. Beans will remain damp.

Soaking lentils and chickpeas overnight.
- Place jar in a horizontal position on your counter. It’s best to prop up the bottom of the jar with a folded towel to encourage excess water to drip out.

Day one: lentils and chickpeas; jars propped up with towel.

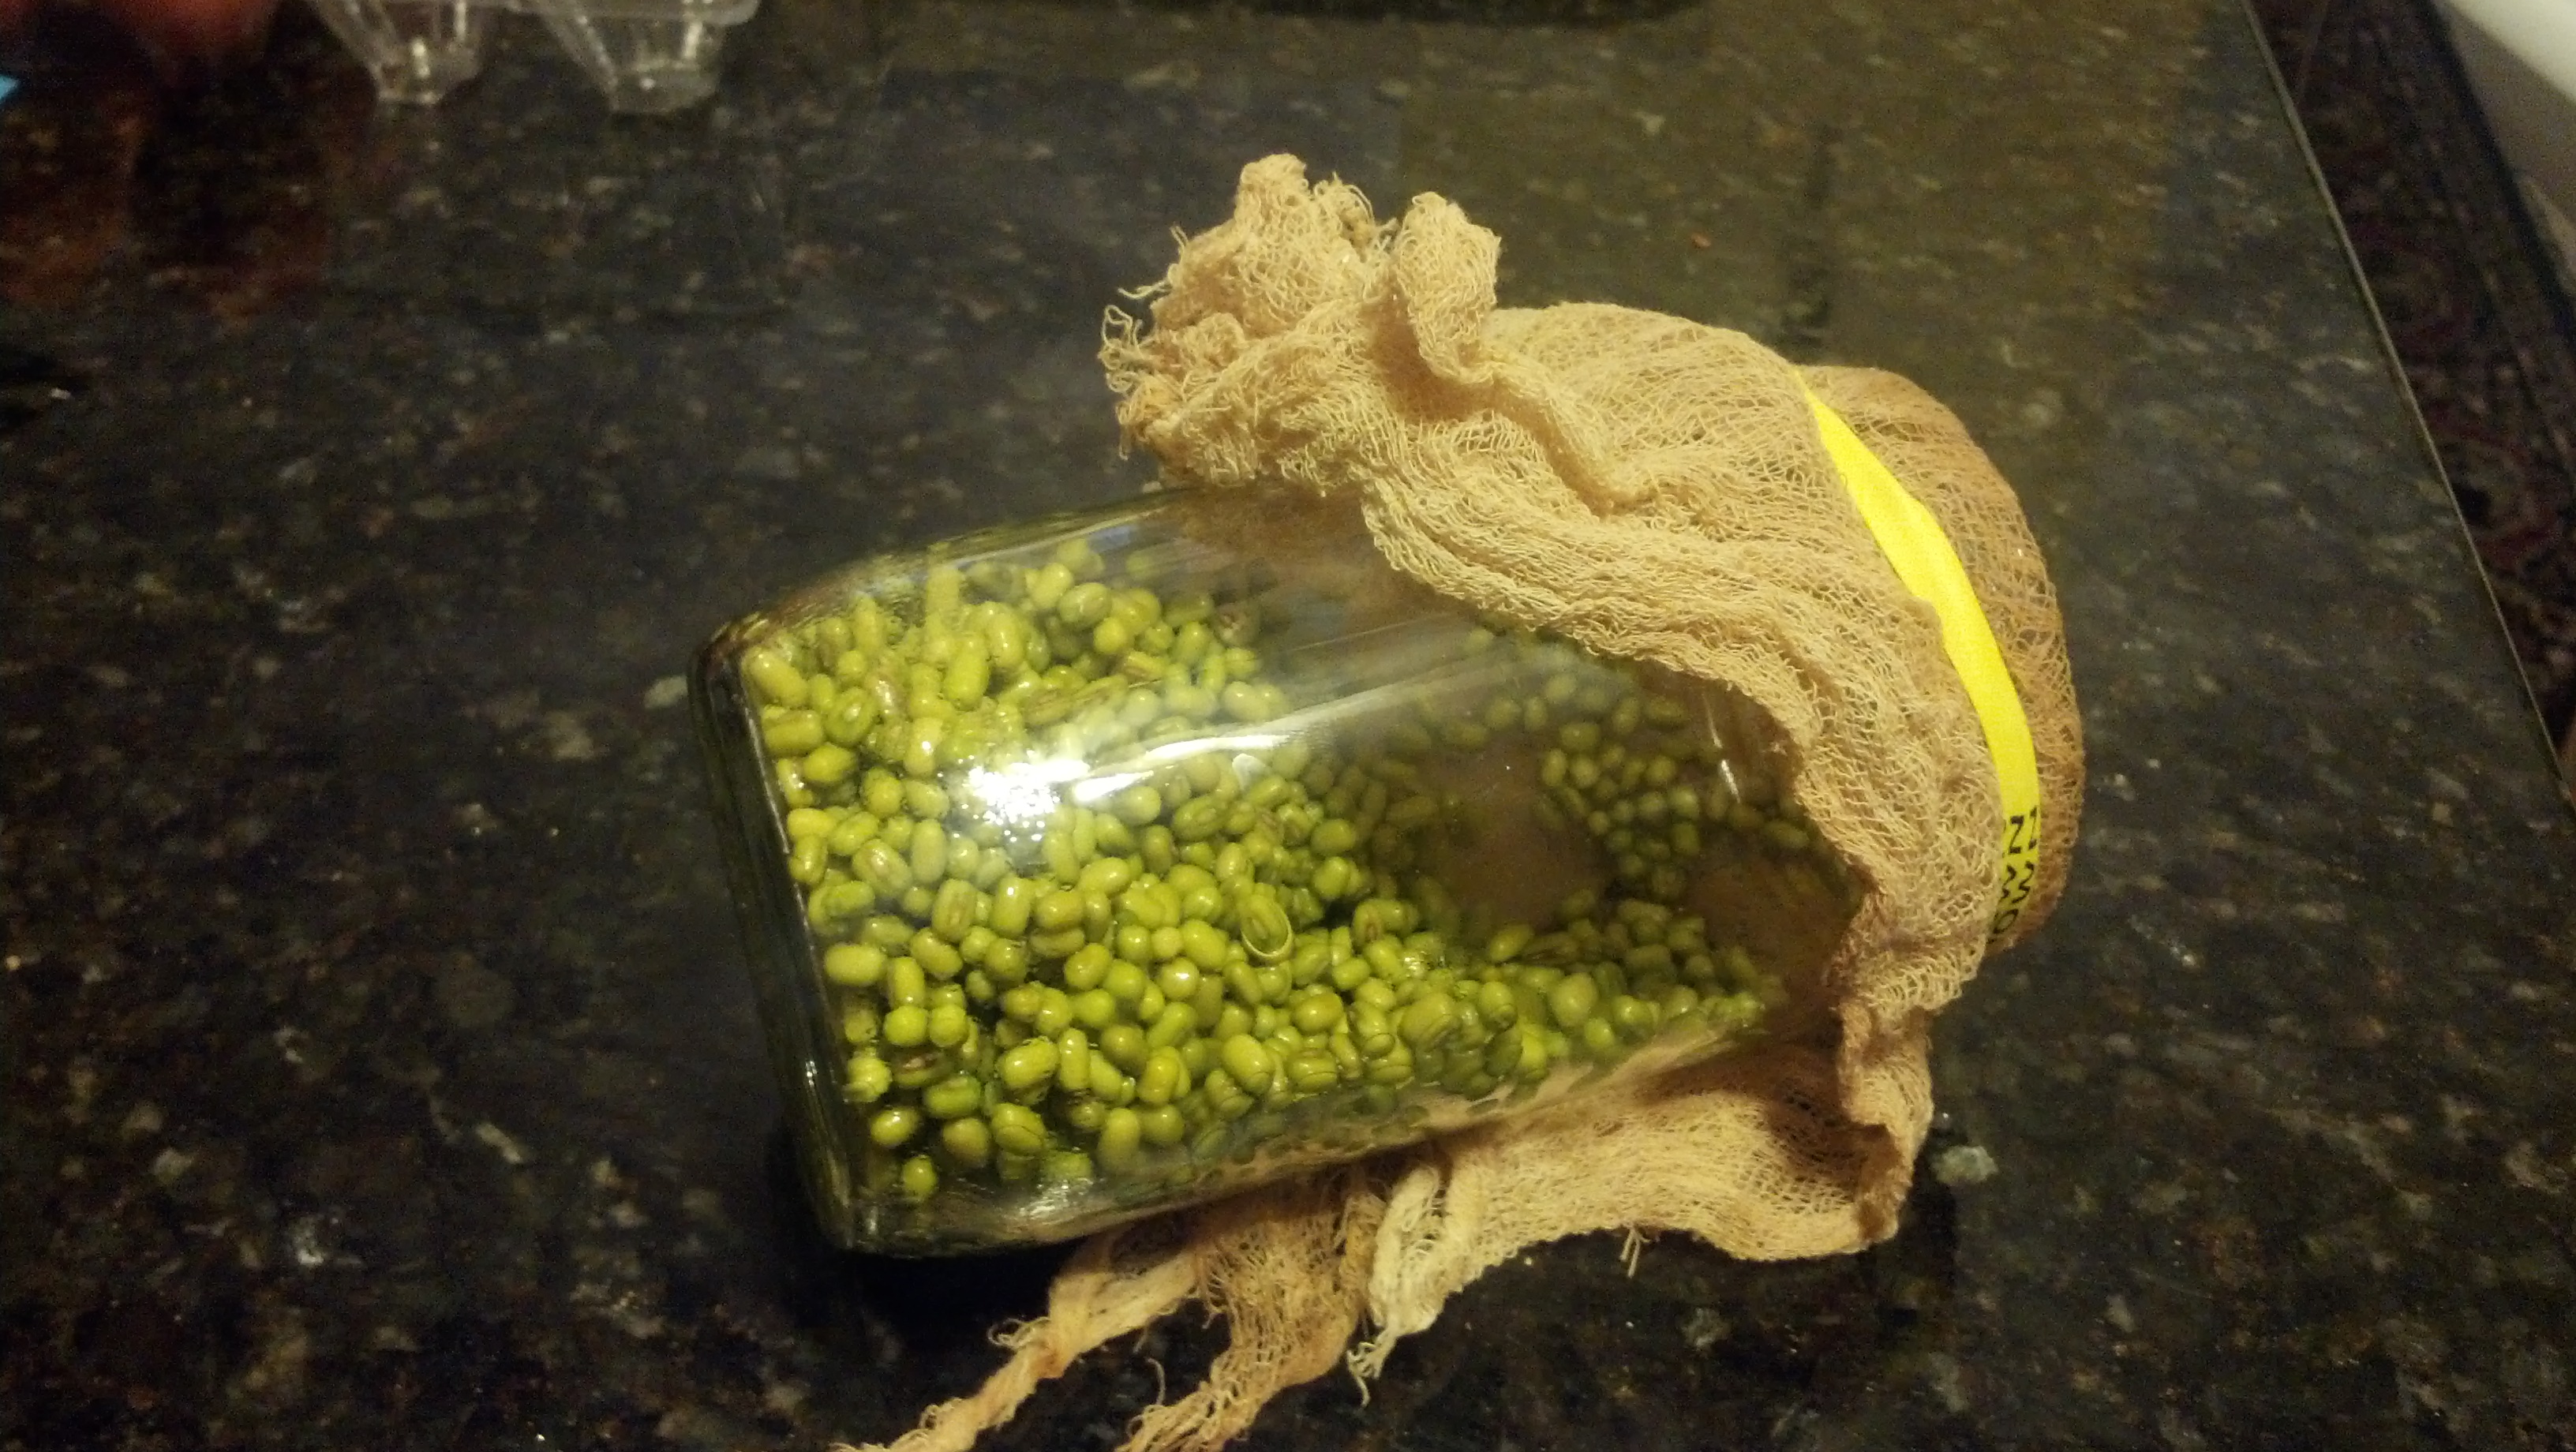
Day one: mung beans
- Continue rinsing and draining the beans 3 to 4 times a day. Don’t worry if you have to go to work or go to sleep, they will be ok. Just rinse at least 2 times a day when you get a chance (am and pm).
- After a day or so, you will see your first sprouts! You can eat the bean once the sprout is a mere ¼ inch thick. But, the more you let it grow, the more nutrients you will get. Let the sprout grow until desired length, for a few days. (I like my mung bean sprouts to be about ½-¾ of an inch.). Optional: when the sprout is close to the desired length, some people place the jar near a window for half a day to “green” their sprouts (i.e. stimulate chlorophyll production). Keep rinsing during this process.

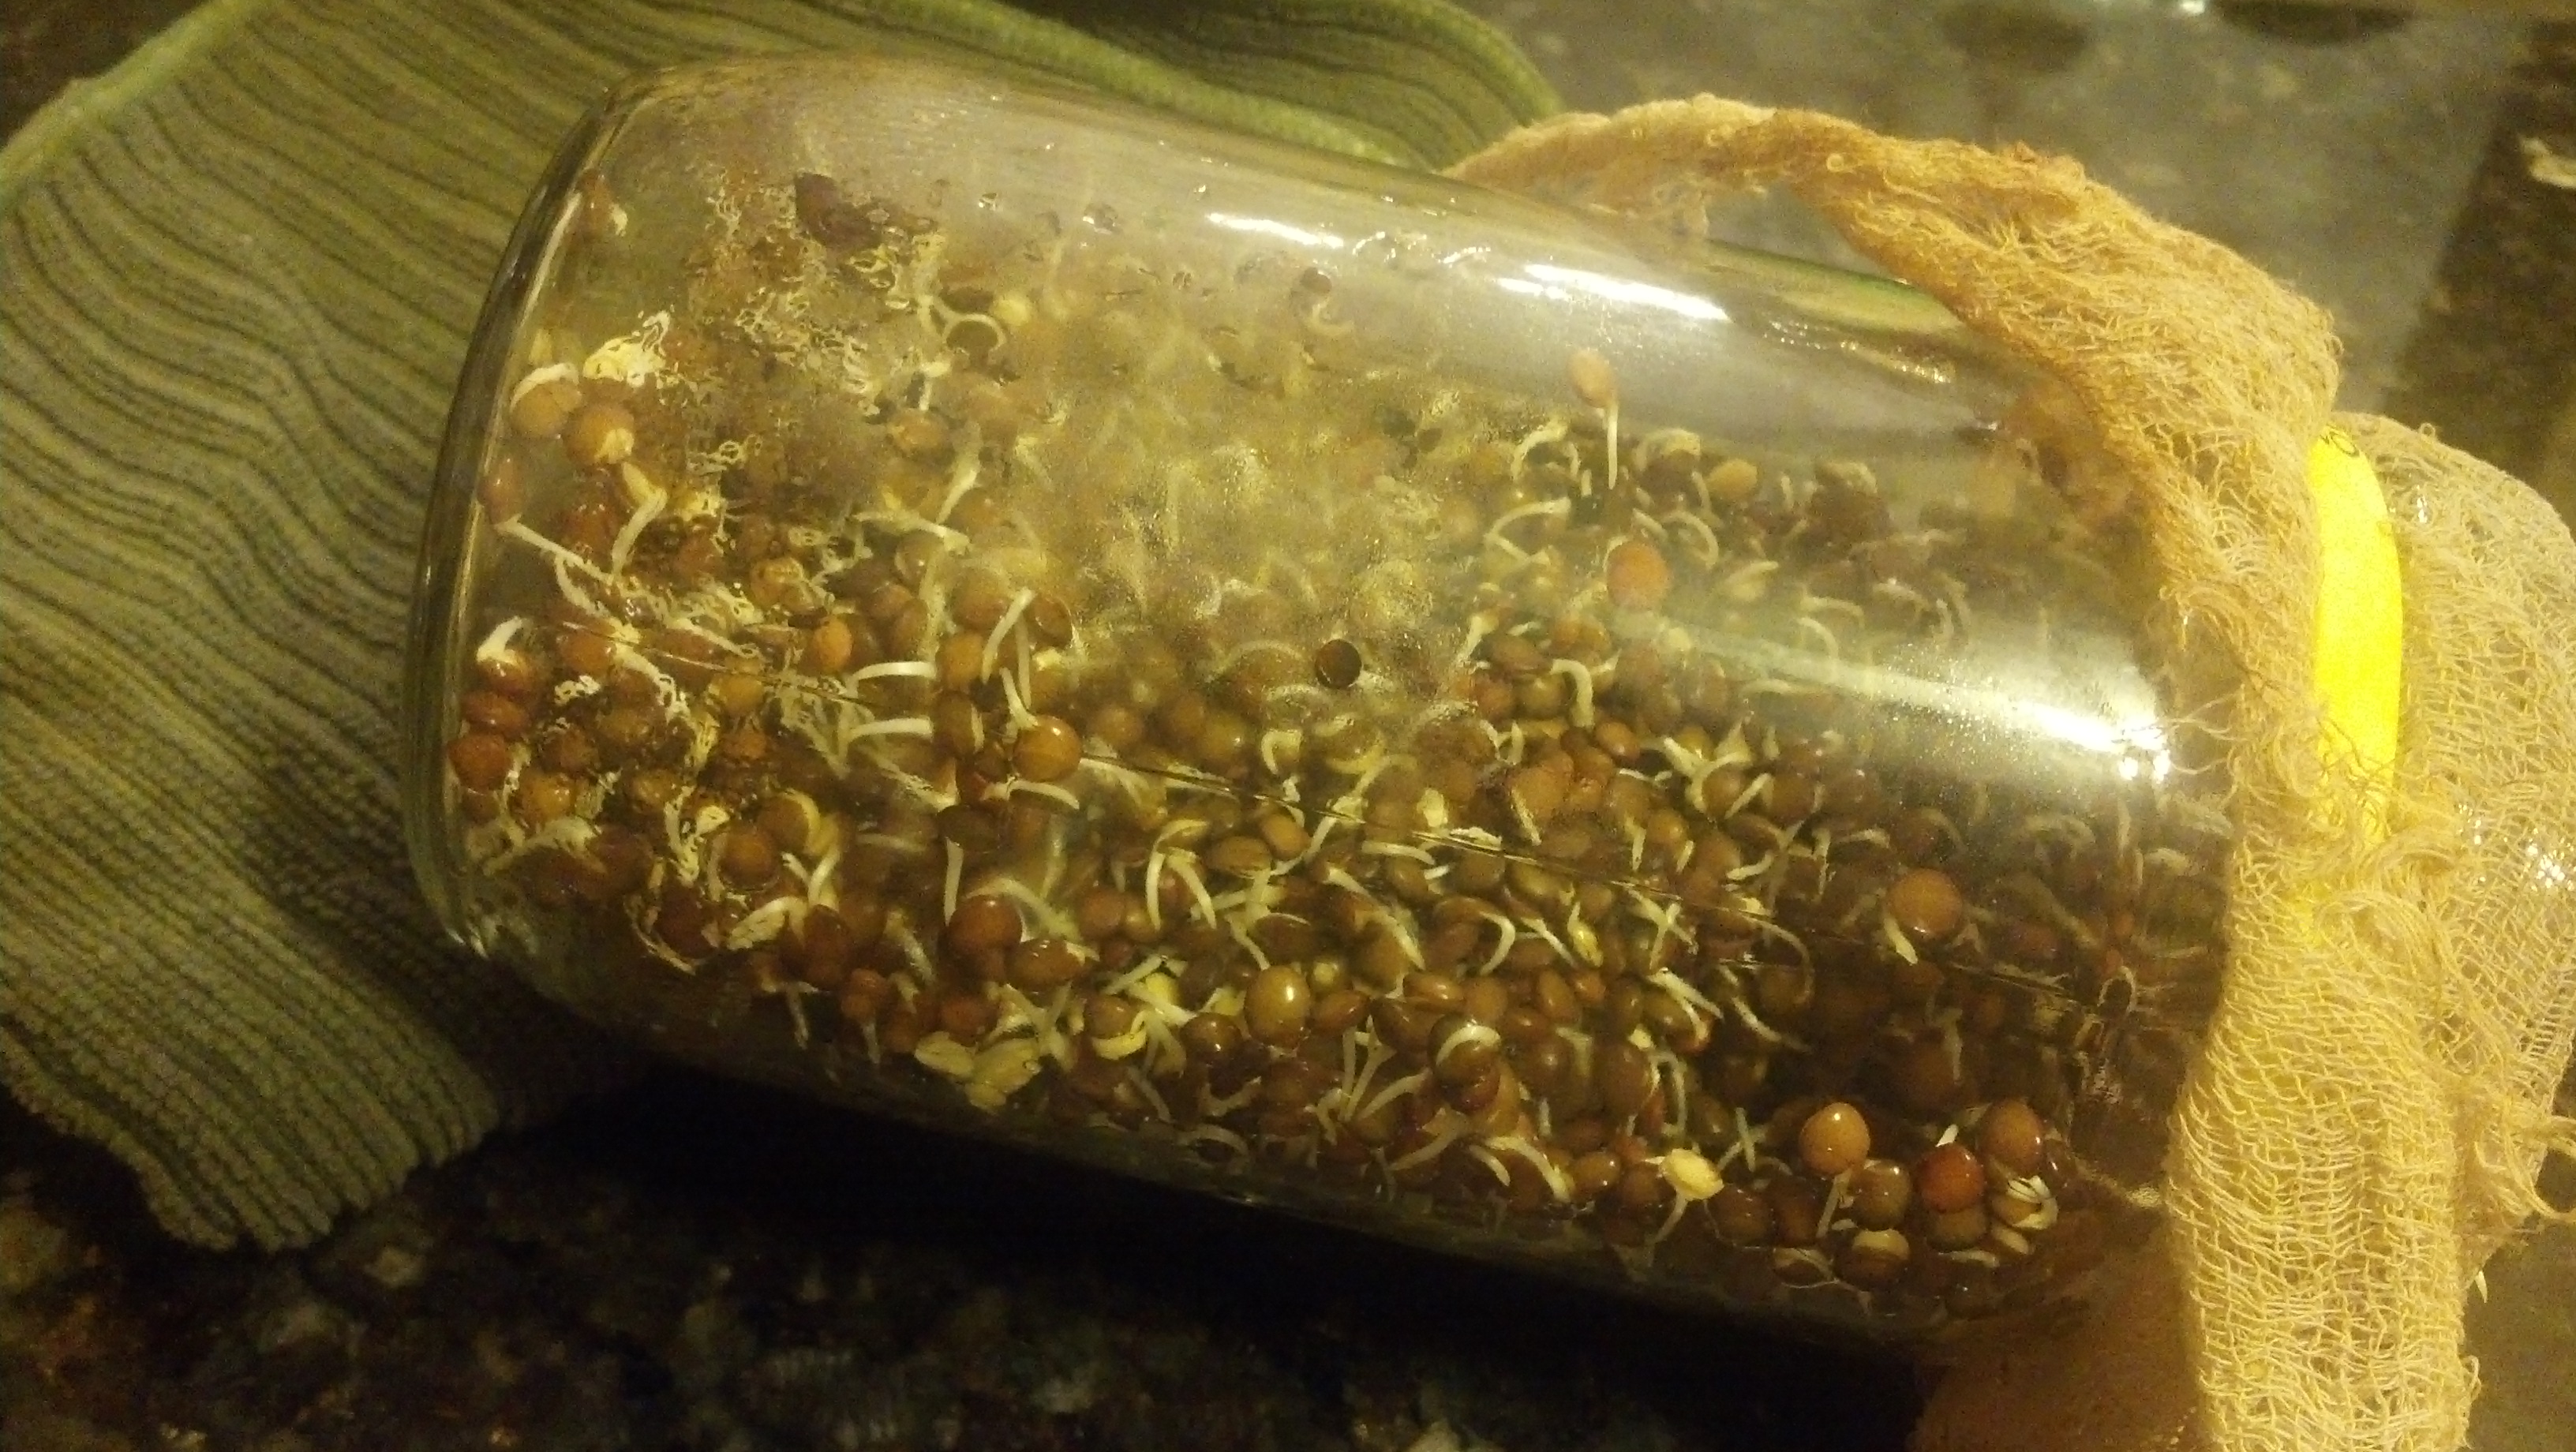
Lentils: end of second day. I will let them continue to sprout for another half day or so.
- Store sprouts in the refrigerator (you can keep them in the same jar). This will stop the sprouting process as well as the rotting process. Try to eat them within a few days, no more than five.

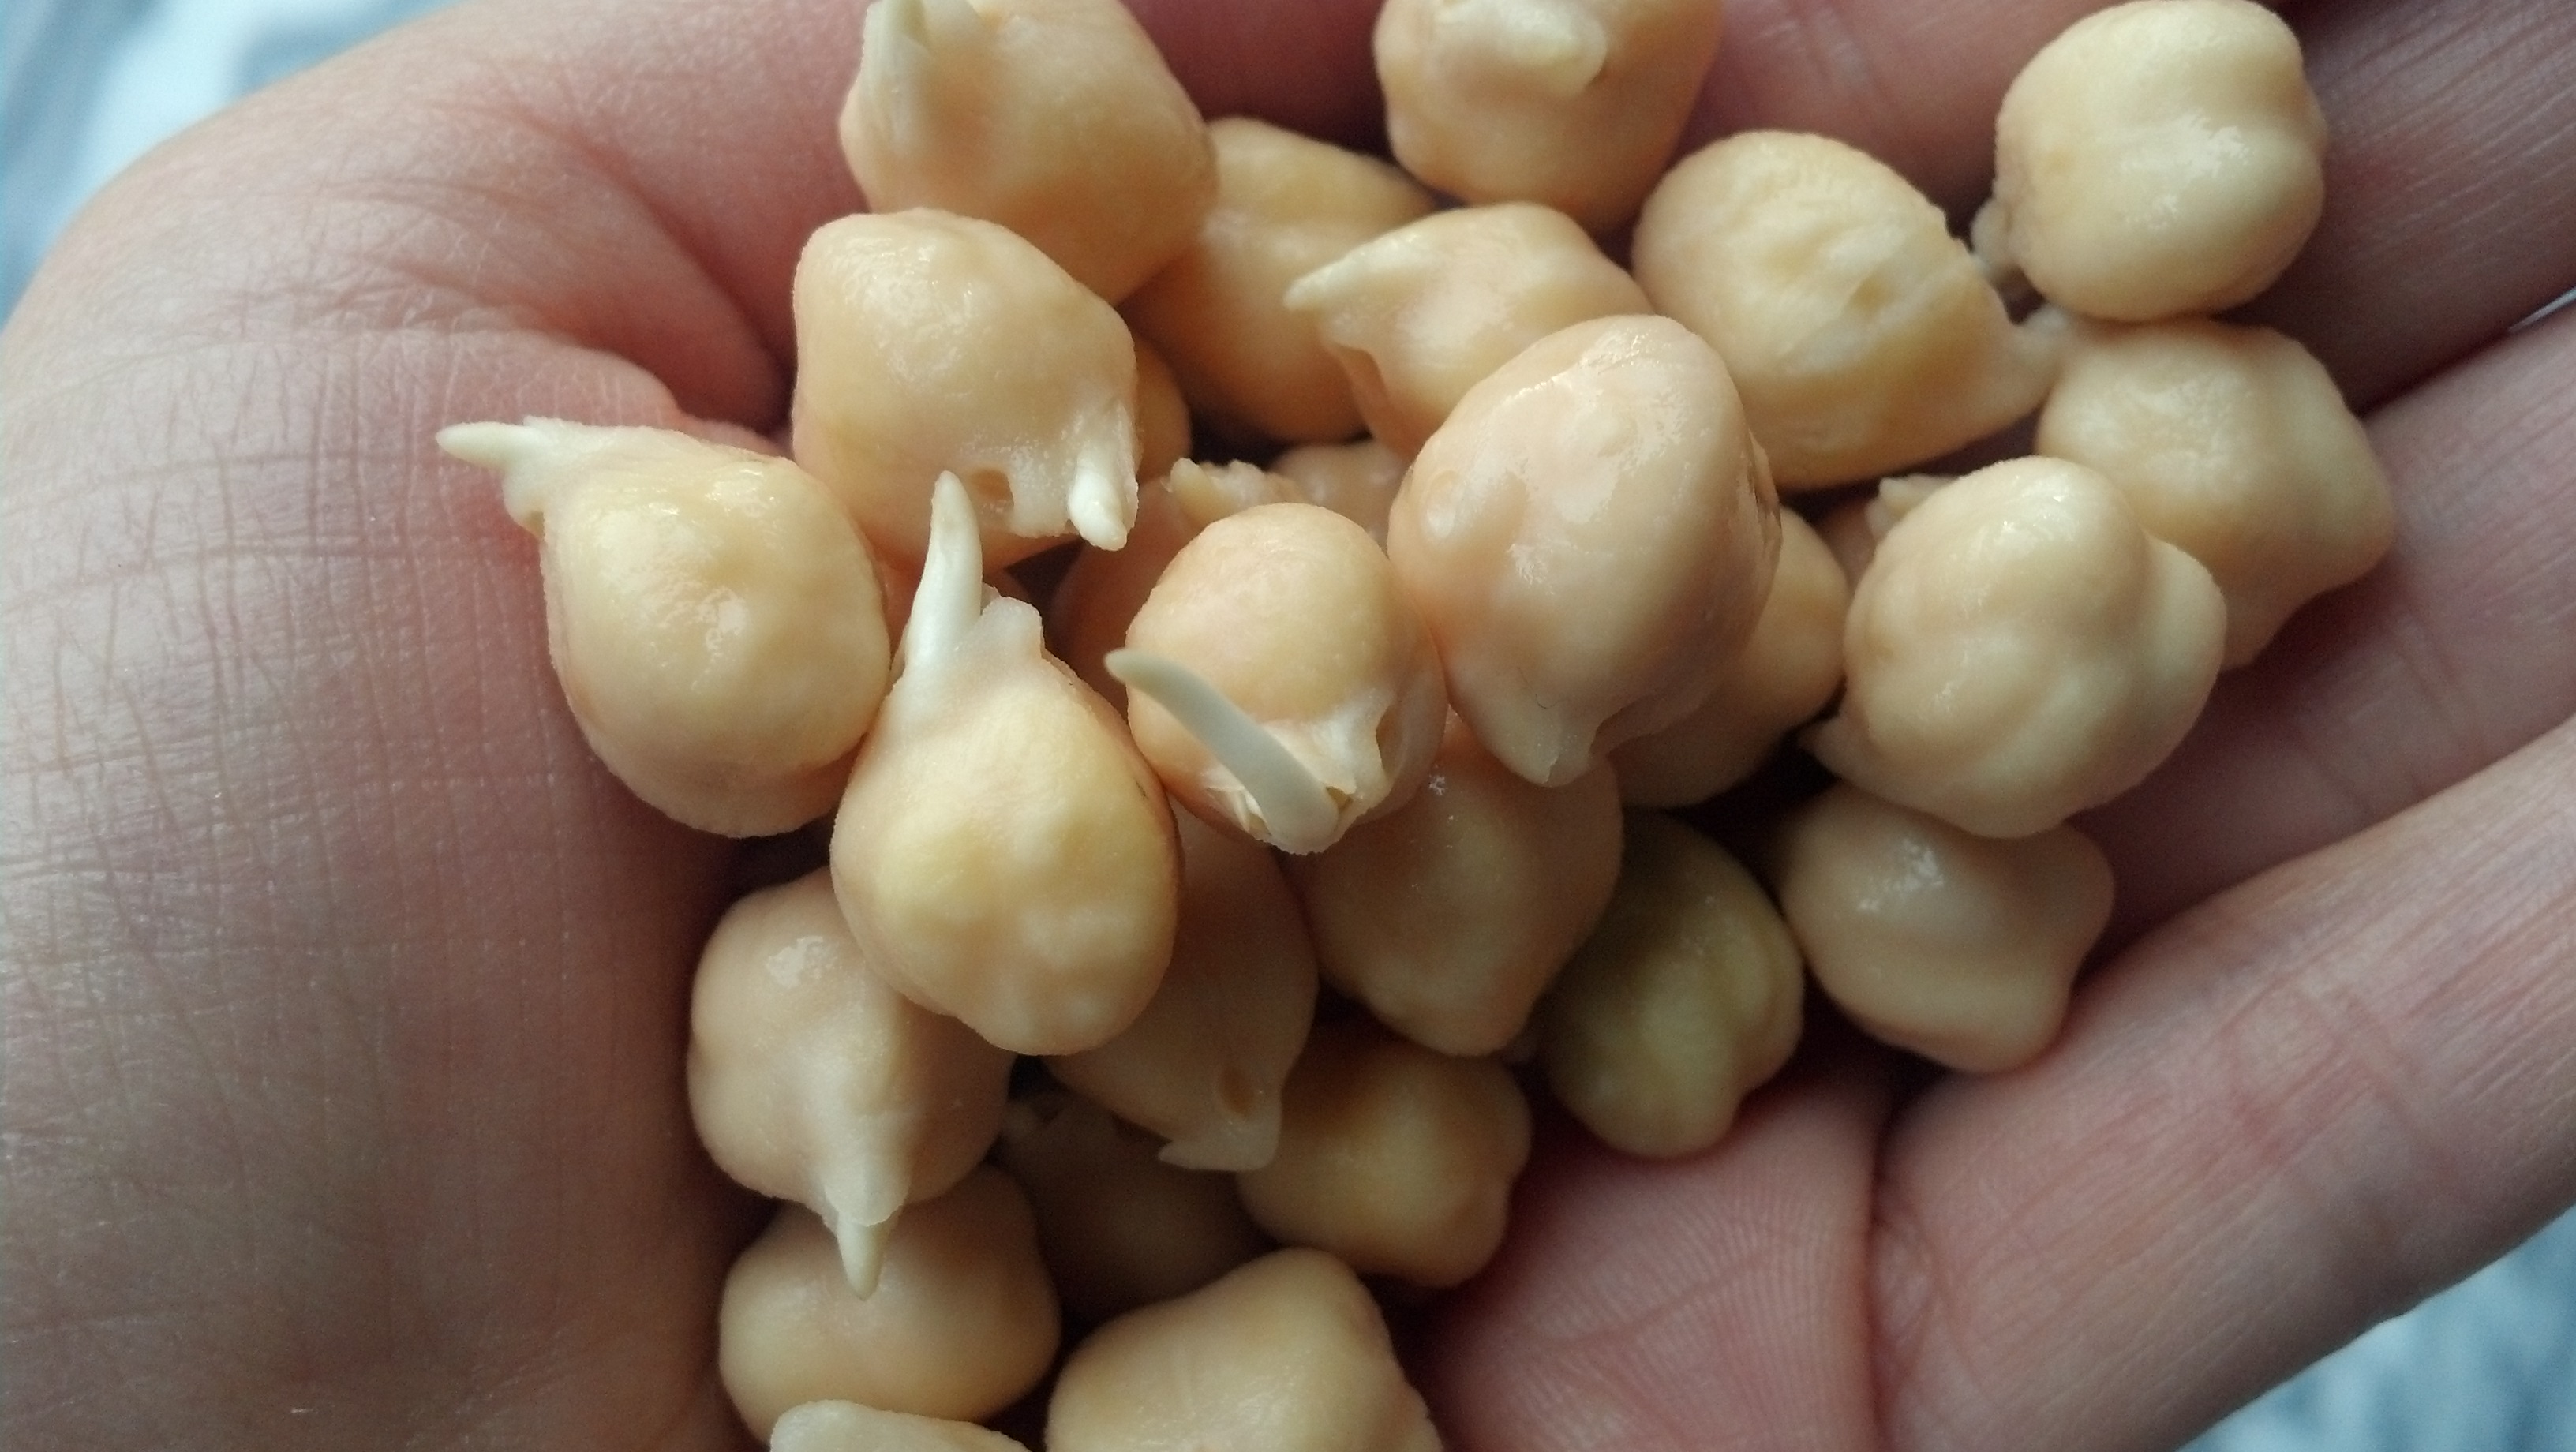
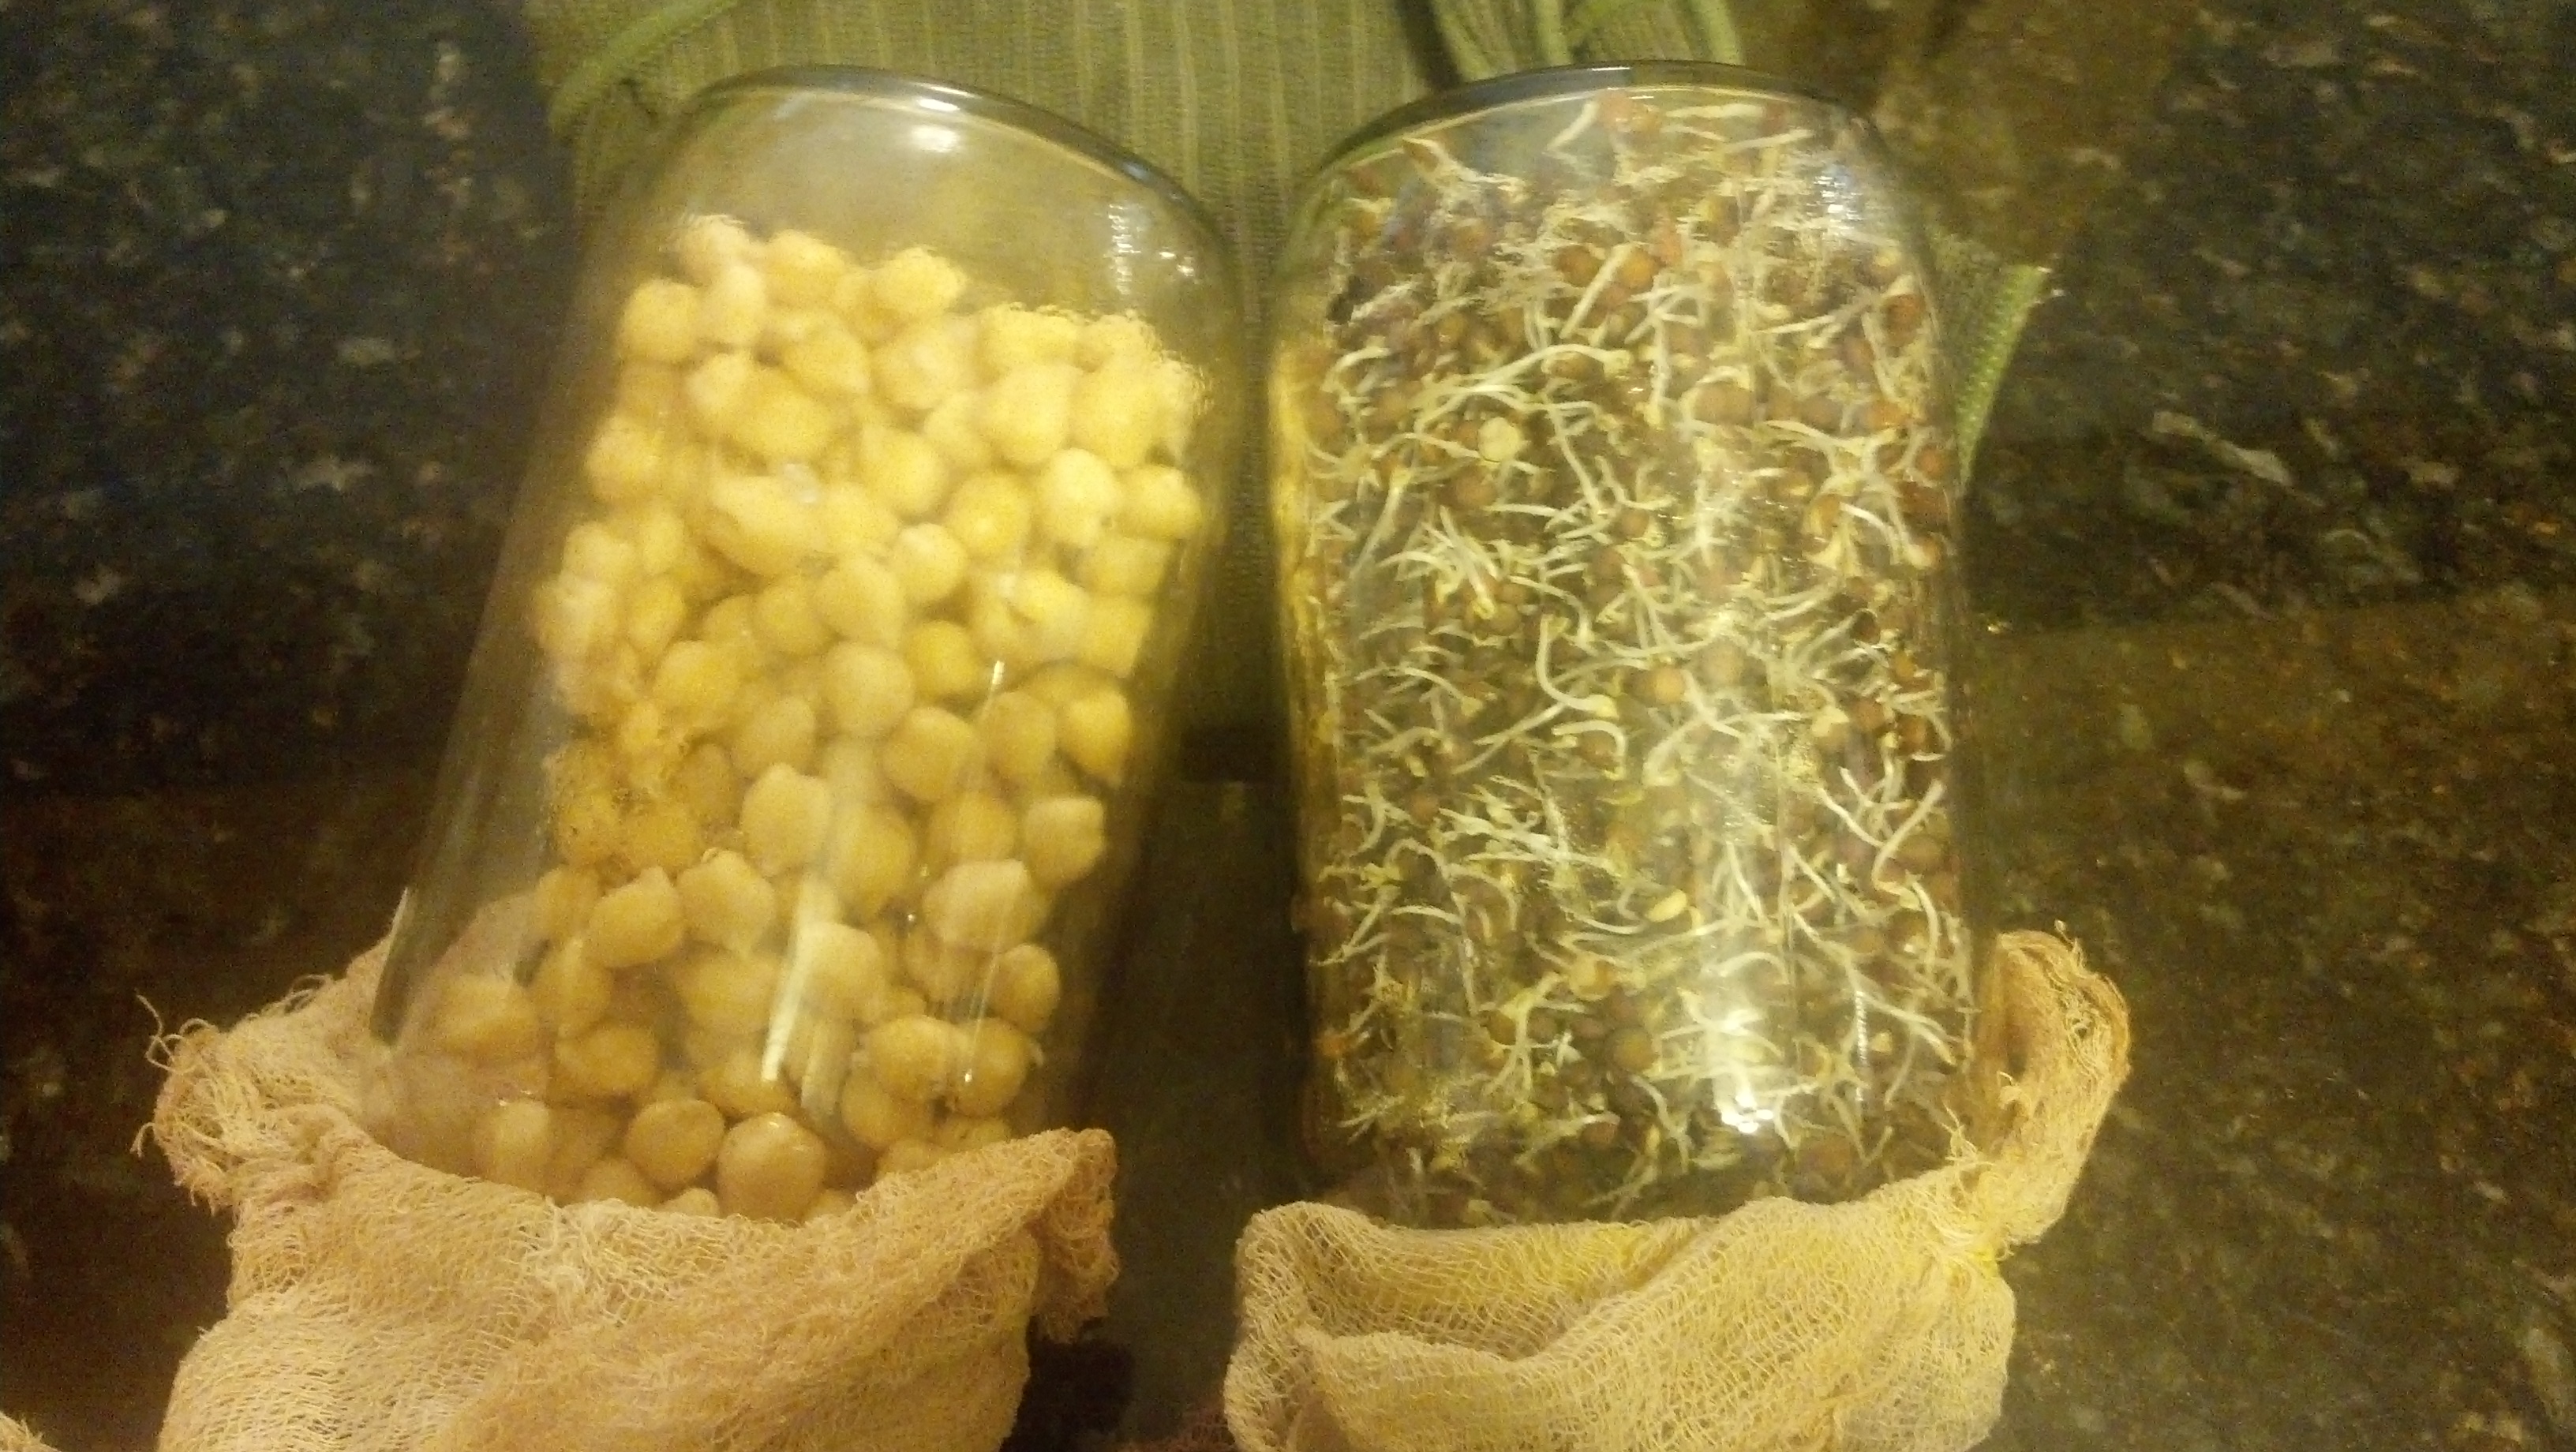
Day 2.5: Lentils are ready to go into the fridge! Chickpeas will stay out for another day or so. Most of them have grown little nubby tails and some have actually sprouted, so I will let them go a little longer (it’s hard to see in the photo).

Day 2.5: Mung bean sprouts ready to eat!
That’s it! You can enjoy sprouts in many different ways. I will discuss ideas in my next blog post and share some more tips about sprouting. In the meantime, sprouts can be enjoyed as is: pop them in your mouth like nuts—kids will love them too! Try sprinkling them on your salad. Make a raw paté or chumus.
More on all of this next time. 🙂
Happy Sprouting!
[2] Chavan and Kadam 1989.
[5] Schwartz et al, 2010, 2011.